Mapping
Mapping gives live users a shared, edge-to-edge picture of the site in all the space between the Nexus top and bottom bars. It can operate on its own with the event boundary, base maps, show maps, and imported planning layers. When Event Control is also active and the user can view it, Mapping additionally offers open-log markers.
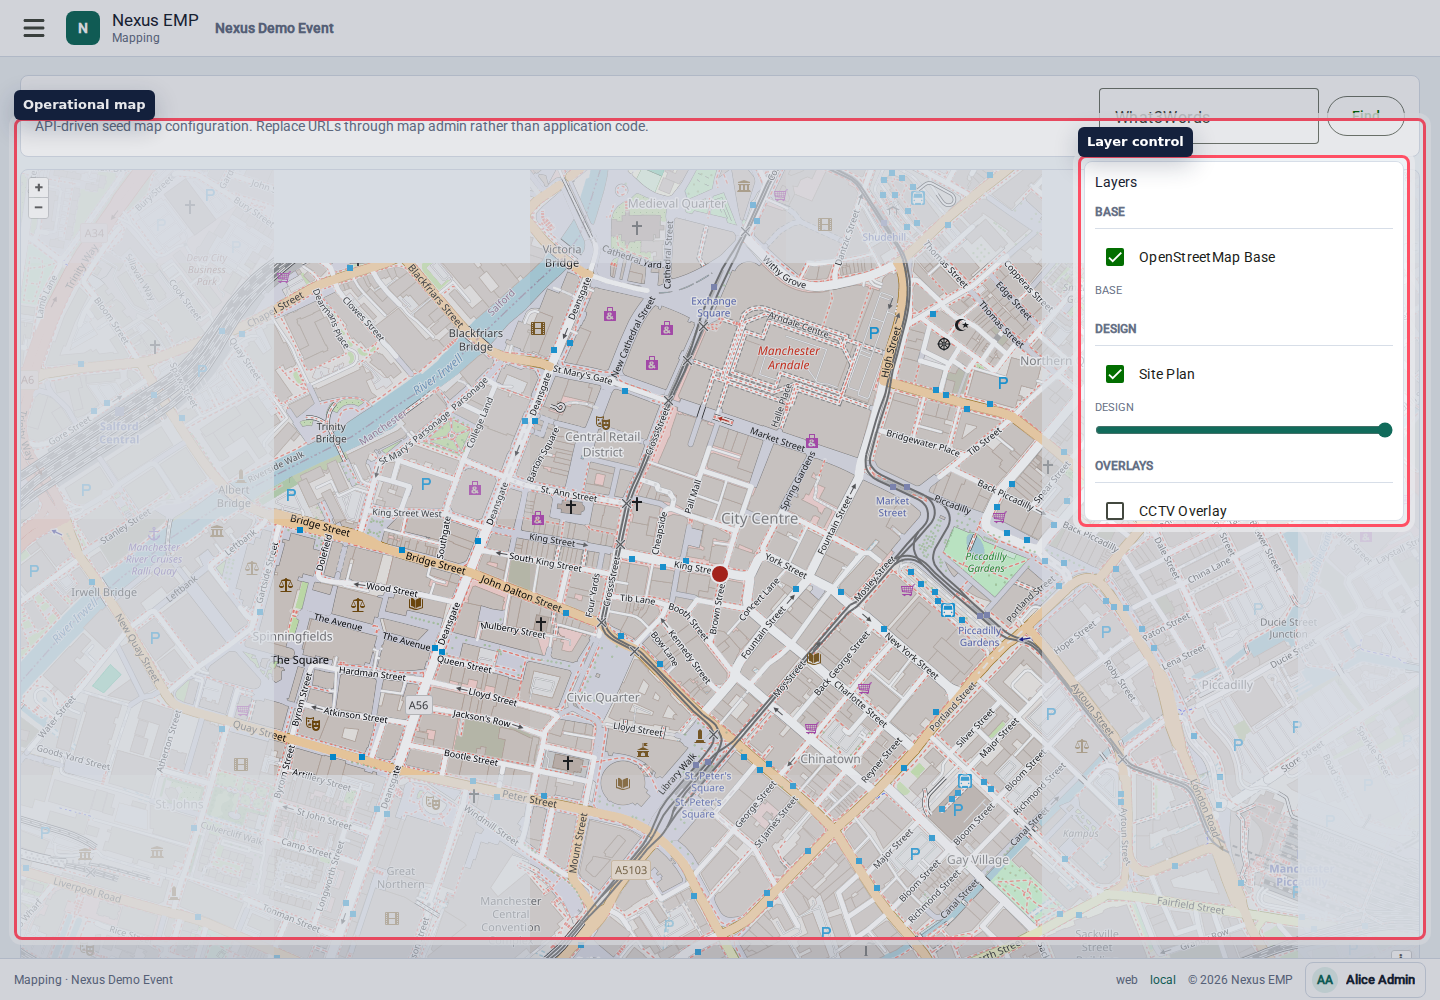
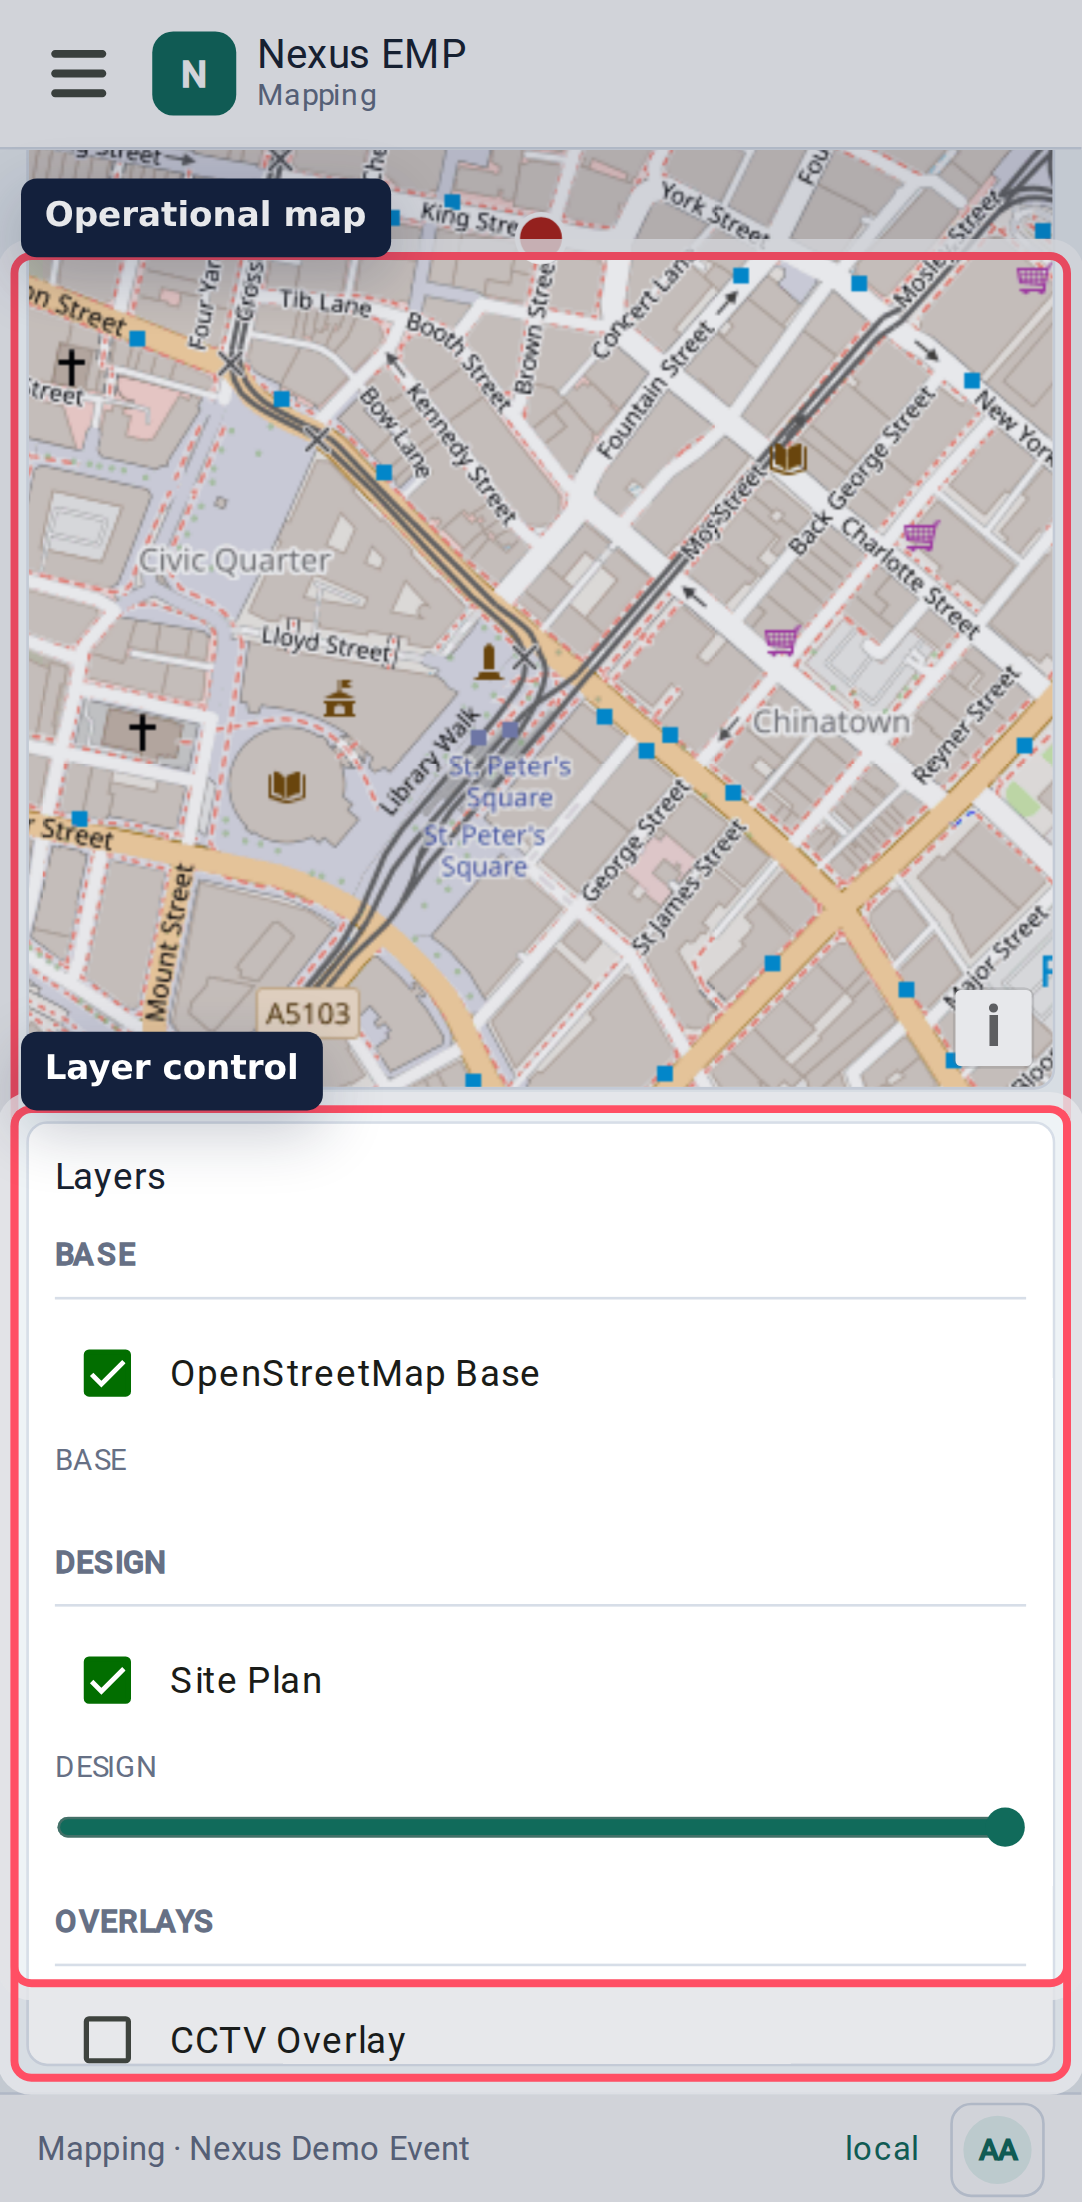
Read the map
The map opens on the event's configured view. The Layers button opens a panel when you need it; the panel stays collapsed by default so it does not cover the working area.
On a desktop, move the pointer over the map and use the mouse wheel or trackpad to zoom immediately; you do not need to select the map first. Drag the map to pan. Scrolling inside the open layer list moves through the list instead of zooming the map.
On a touch screen, drag the map with one finger and pinch with two fingers to zoom. These gestures move the map rather than the surrounding Nexus page.
The small badge at the bottom of the map reads FPS ready while the map is idle. Drag or zoom and it reports the browser's approximate frame rate, labels it Smooth, Reduced, or Low relative to the best rate observed in the current map view, and leaves the result visible briefly. A short dip while detailed tiles load is normal; a sustained reduced or low reading is useful information to include when reporting a problem.
The panel shows one front-to-back stack containing configured maps and layers offered by active modules. Use the checkbox beside an item to show or hide it. Drag an item, or use its up and down controls, to change which layer appears in front. The first item in the list is the frontmost layer.
Open Layer settings below a map layer when you need to adjust its opacity. Open Map view options at the bottom of the panel to change the map set, view mode, or base-map source. These less frequent controls stay out of the way during normal operation.
Some layers are base layers; others are design or operational overlays. When an imported site plan is detailed, hide or fade the base layer so OS background detail does not compete with the plan.
Use layers to answer practical questions:
- Where is this incident?
- Which gate, zone, or route is nearby?
- Which planned overlay should the team use for this phase of the show?
- Does a log already exist at the same place?
Work with log locations
When Event Control is active, readable open logs with coordinates appear as markers. Open log markers appears in the same ordered layer stack, labelled as an Event Control module layer. Use its checkbox to show or hide those markers, and move it in the stack like any other overlay. Selecting a marker opens or routes you towards the matching Event Control log. Text-only log locations remain in Event Control but are not placed on the map.
You can also pick a map location and carry it into Event Control when both modules are active and your access allows it. Mapping-only events do not call Event Control or show log overlays.
Find a map label or What3Words reference
Every newly processed planning map attempts to build a search index. When the source PDF contains native text with a usable character mapping, the floating Map search field can find it, including labels that are currently off screen or on a hidden layer. Scanned text and labels flattened into drawing outlines are not yet searchable. When a label is split over several consistently aligned PDF text lines, Nexus combines those lines for phrase searches; ambiguous nearby text remains separate. Start typing a gate, zone, route, or landmark. Results identify their map layer; selecting one reveals that layer, moves the map to the label, and highlights its position. Search availability follows the published map revision, so an older map without a search index remains fully usable but does not offer label results. When current location is available, equally relevant label matches are ordered nearest first; text-match quality always takes priority over distance.
A label search is only a way to inspect the map. It does not create or replace the pending location that can be carried into Event Control.
At overview zooms, Nexus uses planning-map tiles rendered directly for that viewing scale. This keeps line weight, colour, and transparency consistent as you zoom instead of switching to a separately averaged overview image.
Every newly processed planning map also attempts to provide high-detail drawing tiles. Nexus switches these on automatically at zoom levels where each tile is small enough to render smoothly. Dense or oversized tiles continue to use the normal raster image, so there is no missing-map area and no separate layer or control to manage. Older revisions and sources that cannot produce a usable high-detail asset remain on the compatible raster version.
Where the environment is configured with What3Words, use the floating
map-search control to resolve a three-word address in the configured scrollable
area. Begin the address with /// to run it directly as a What3Words lookup.
Successful searches move the map to the resolved point,
highlight the What3Words square, and mark the centre point. You can enter an
address without the leading /// and choose the explicit What3Words action;
this keeps similarly worded planning-map labels available. Nexus trims
surrounding spaces and normalises uppercase letters. The same field shows the selected address after
the lookup: use the magnifying-glass button to search and the adjacent copy
button to place the resolved address on the clipboard. You can also select the
field and copy it manually. Incomplete or unrecognised addresses show a safe
validation message instead of a raw request error. If What3Words is not
configured, or the address is outside the configured map area, Nexus also shows
a safe message instead of pretending the lookup worked. The event boundary and
scrollable-area setup rectangles are only shown in Configure mapping, not in
live views.
What3Words is helpful for field reports, but it should not replace clear operational wording. Include the gate, zone, route, or landmark when you know it.
Follow your live location
On a phone or tablet, select the live-location button in the lower-right corner of the map. Allow location access when your device asks. Nexus centres the map on your GPS position, zooms in, and continues following the blue position marker as you move. The shaded area around the marker shows the device's reported accuracy.
Drag or zoom the map when you need to inspect somewhere else. Your position continues updating, but automatic following pauses so the map does not pull away from you. Select the live-location button to centre on your position and resume following. Select Stop in the location message to turn live location off and remove the marker.
Your current position is temporary: it is not saved to the event or shared with other users. If the device cannot provide a position, permission is denied, or you are outside the configured map area, Nexus leaves the map in place and explains what happened. Device location is only available over a secure connection or through a Nexus native app. Tracking stops when you leave the Mapping view, and browsers may suspend updates when the tab is hidden or the device is locked.
Why configure maps properly
A well-prepared map lets the control room move faster. Operators can locate an issue, choose the right route, and attach a log to a place without opening another system.
The best setup is boring on purpose: one clear base map, only the overlays the live team needs, and imported planning maps that have been checked before show day.