Mapping configuration
Mapping configuration prepares the map that live users see during the show.
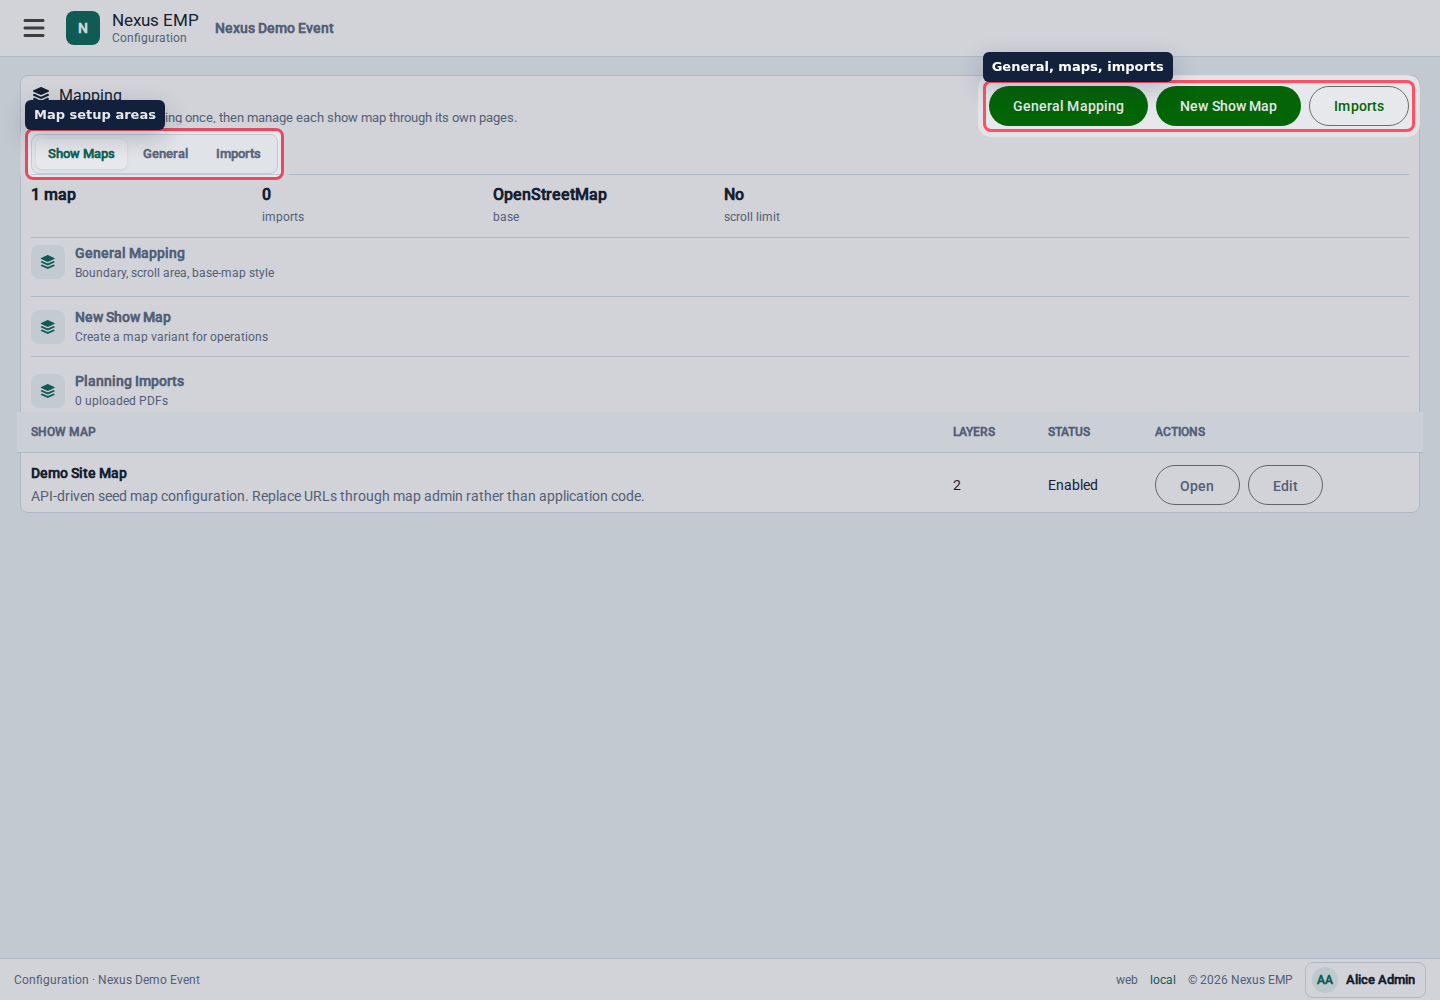
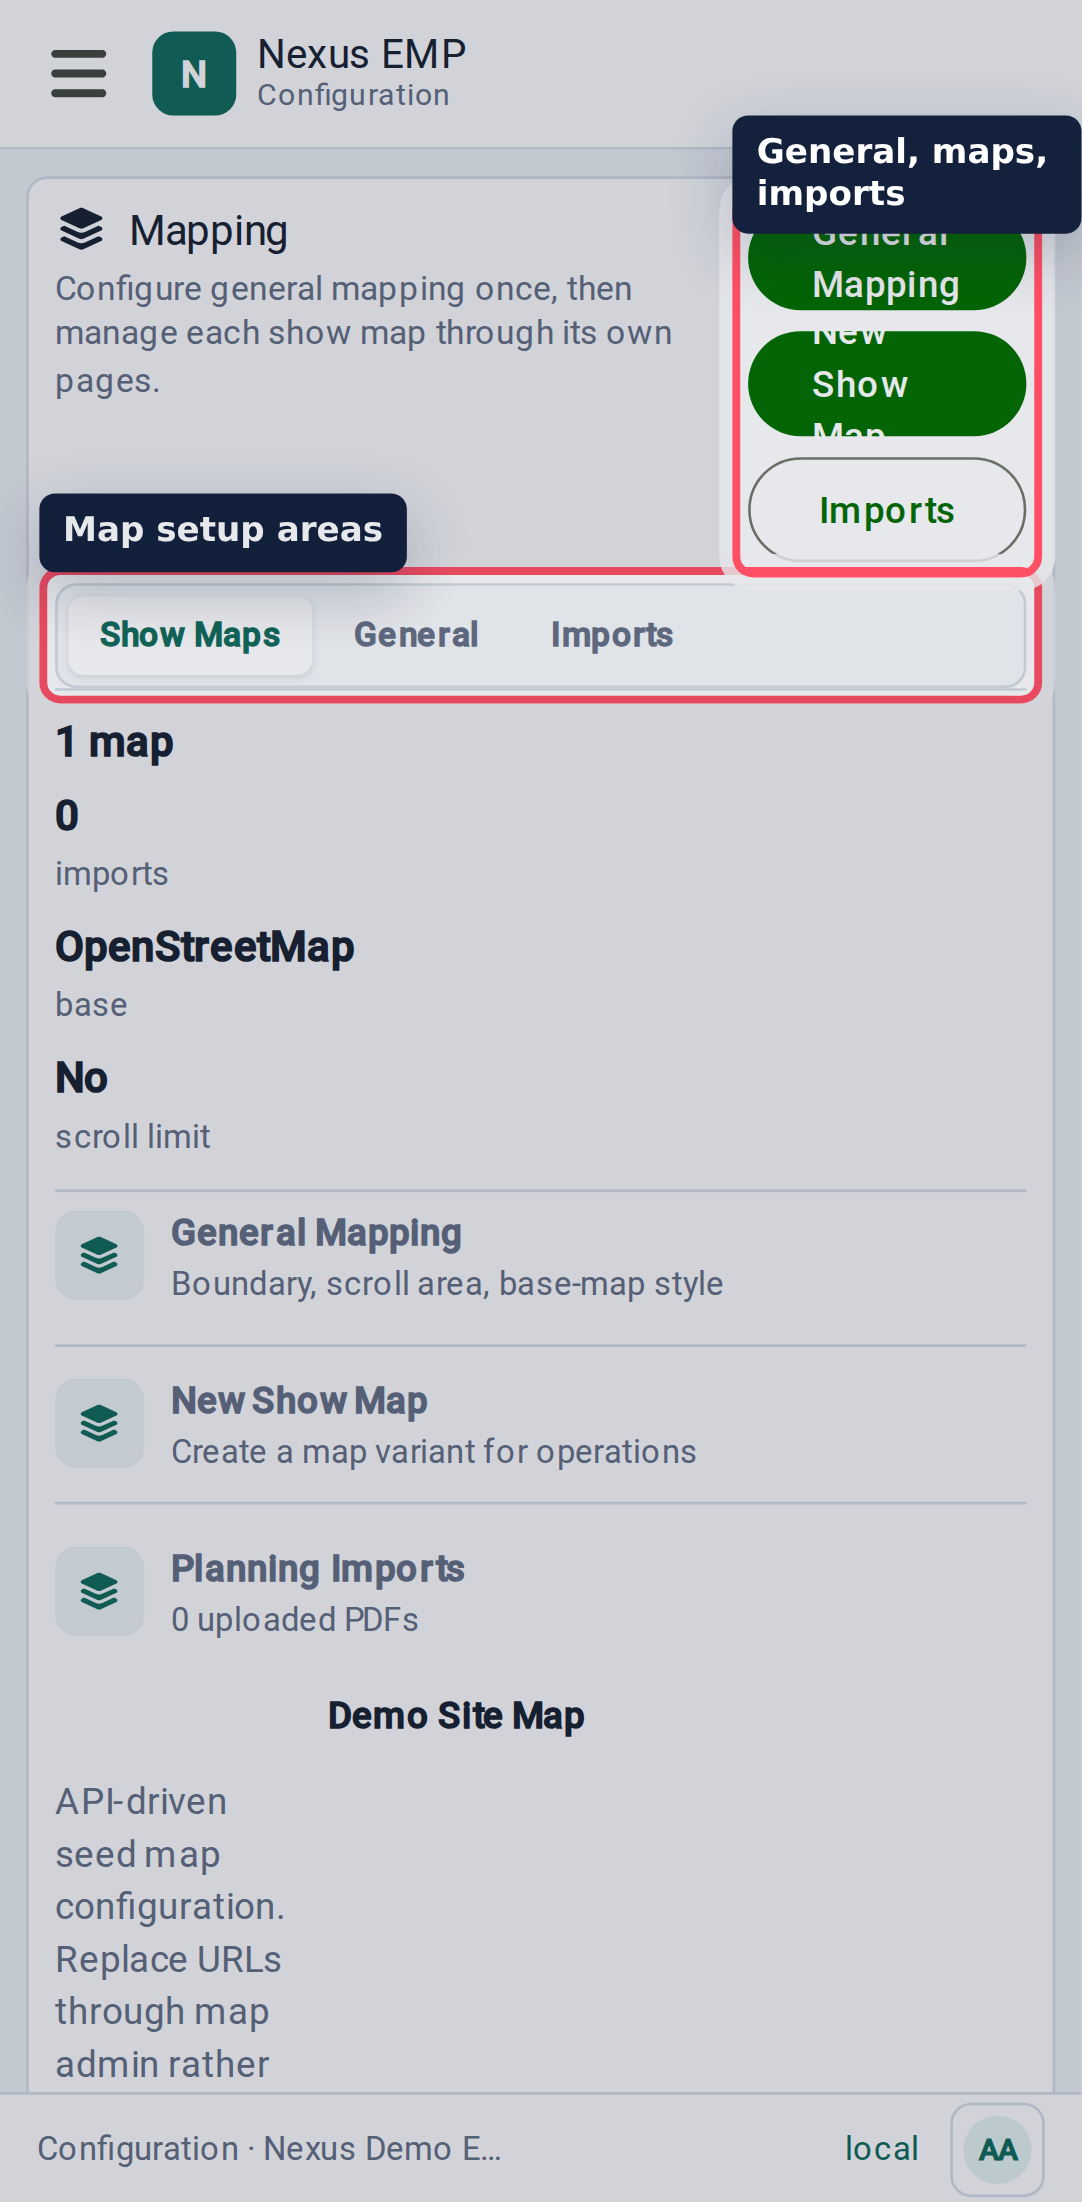
General mapping
General mapping sets the event's base map, opening zoom, event boundary, and scrollable area.
Use the boundary to describe the event footprint. Use the scrollable area to stop operators drifting too far from the site.
Set a generous scrollable area around the event, but keep the opening view tight. Operators should land where the show is, then pan out only when they need context.
Base maps
OpenStreetMap is available as a general base. OS Maps can be selected when the environment has the required OS Data Hub key.
If OS Maps is selected without a configured key, Nexus shows an unavailable warning and keeps the save action safe. Configure the OS key before relying on OS Maps for a live show.
Show maps and layers
Show maps are operational map sets for the event. Each show map can have layers:
- base layers;
- design layers;
- overlays;
- imported planning map layers.
Use layers to separate what operators may need at different moments. Too many default-visible layers can make the map slower to read.
Imports and georeferencing
Upload planning PDFs in Imports. Nexus prepares each page, then keeps manual referencing, alignment feedback, overlay review, and reusable calibrations together in one workspace.
The import steps are:
- Upload PDF adds the source PDF and prepares page previews.
- Select pages lets you include useful pages and ignore covers, legends, or other non-map pages.
- Reference and review is the main workspace. Click the same recognisable place on the PDF and reference map, then save the pair. Saved points remain numbered and visible on both maps.
- Prepare and publish explicitly renders the final tiles and turns the checked page into a show-map layer.
In Side by Side mode, choose well-spread locations that are easy to identify on both maps, such as building corners, path junctions, gates, or survey marks. Nexus checks alignment immediately after the fourth enabled pair is saved. Four pairs are the minimum because the extra observation can expose a mistake; add a fifth pair whenever possible to make that check more useful. You do not need to start or wait for a separate alignment job.
Every saved pair has the same number and symbol on the PDF, the reference map, and the point list. Use the list to focus or edit a pair, or temporarily exclude it from the alignment. Do not rely on colour alone when comparing points.
Switch to Overlay Preview without leaving the workspace to compare the solved PDF against roads, gates, paths, and building outlines. Accuracy and spread messages update after any point is saved, edited, included, or excluded. Rendering does not start automatically: move to Prepare and publish and choose Render Final Layer only after the alignment looks correct.
For an already rendered page, choose Render Again to prepare a replacement without interrupting the layer operators are currently using. Nexus keeps the published tiles live while the replacement is rendered. The job status updates through each raster zoom and tile region, archive packaging and verification, searchable-label preparation, high-detail preparation, and uploads; long native substeps continue to report that they are active. When it finishes, review the replacement and choose Publish Layer to switch the layer to it. If the replacement fails or is cancelled, the existing published layer remains unchanged.
Reusing a viewport calibration
A viewport calibration saves the complete set of point pairs for a particular PDF map frame and crop. It is useful when several PDFs use the identical viewport but differ in visible content—for example a gridded copy, a copy with extra annotations, or an export where the base map is omitted.
Save a named viewport calibration after the source page is production ready. On another page, Nexus compares PDF page size, crop box, rotation, and aspect ratio and labels the calibration Compatible, Needs confirmation, or Not compatible. Content similarity and PDF fingerprints are not used as a gate. Before reuse, you must confirm that the visible map frame and crop are identical. Nexus then scales the saved PDF positions to the target preview, copies every matched pair, and checks the alignment again.
To replace a saved calibration after refining its points, choose Replace with current points, review its name and sharing scope, then choose Update viewport calibration. Nexus prevents accidental duplicate names within the same scope.
Do not reuse a calibration when the map frame has shifted, the crop differs, or only part of the original viewport is shown. Match fresh points instead.
Moving point pairs between dev and production
To move a page's point pairs between Nexus environments, open Reference and review and choose Export Point Pairs. Nexus downloads a compact .ngeoref file containing the point names, included or excluded state, PDF positions, OSGB positions, and source preview dimensions. The file stays on your device and does not contain event or user identifiers.
Open the matching PDF page in the other environment and choose Import Point Pairs. Nexus checks the file and page proportions, then shows the number of pairs and source dimensions before making any change. Confirm that the target uses the same PDF map frame and crop, then choose Apply Imported Pairs. Current pairs are overwritten in order; extra current pairs are excluded. Nexus checks alignment again after applying the file when at least four imported pairs are enabled.
If the preview resolution differs but its proportions match, Nexus scales the PDF positions to the target preview. It refuses a file with a different aspect ratio, damaged contents, or an unsupported format version. Always inspect the numbered points and overlay before rendering or publishing in the target environment.
Once a page is production eligible and tiles are generated, it can become a map layer.
Do not publish an imported planning map on show day without checking it against known points. A badly georeferenced plan is worse than no plan because it looks authoritative.
What to rehearse
Before the event starts:
- open the live map;
- check the base map loads;
- switch each important layer on and off;
- open each imported planning map in Reference and review, compare at least four well-spread point pairs, and add a fifth where possible;
- click a known log marker if logs already exist;
- search a What3Words reference if the event relies on it.